5 Tips for Designing Embroidered Patches
28 / 06 / 18
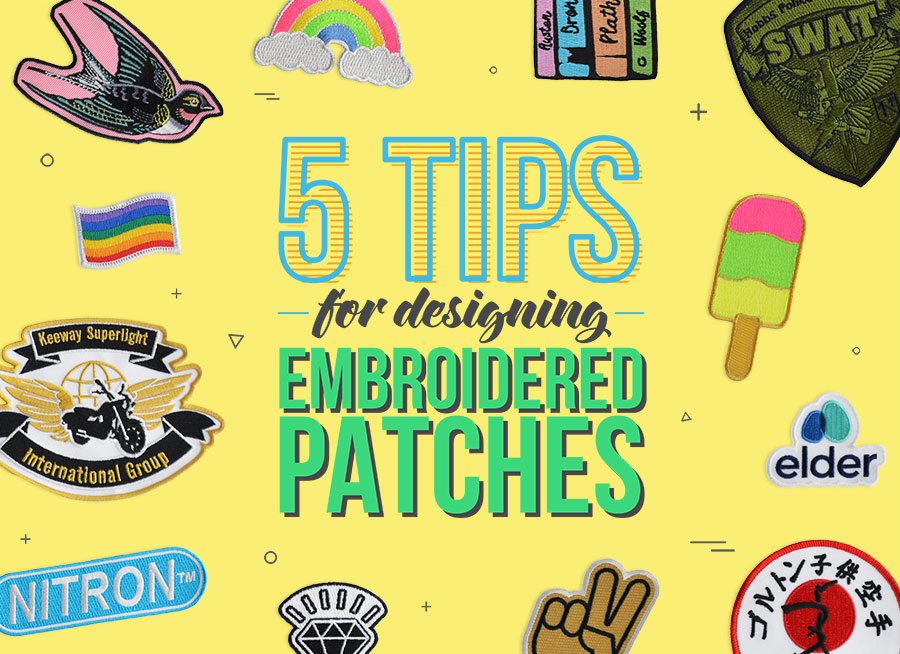
Here are our top 5 tips for designing embroidered patches. Take a look!
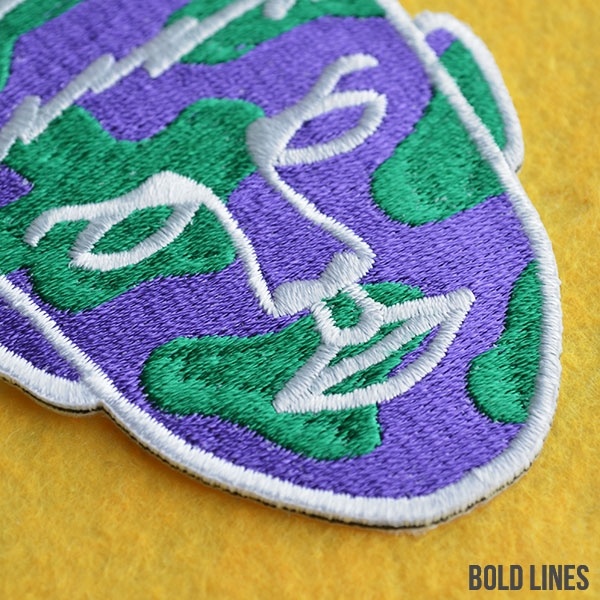
1. Go Bold: Try to make your design and text as bold as possible. Small, fine and delicate text is difficult to re-create with a traditional embroidery process, it's probably the area in which we encounter the most issues. So please be sure to make your text as big and as thick as you can. This will help make your patch more legible and eye-catching.
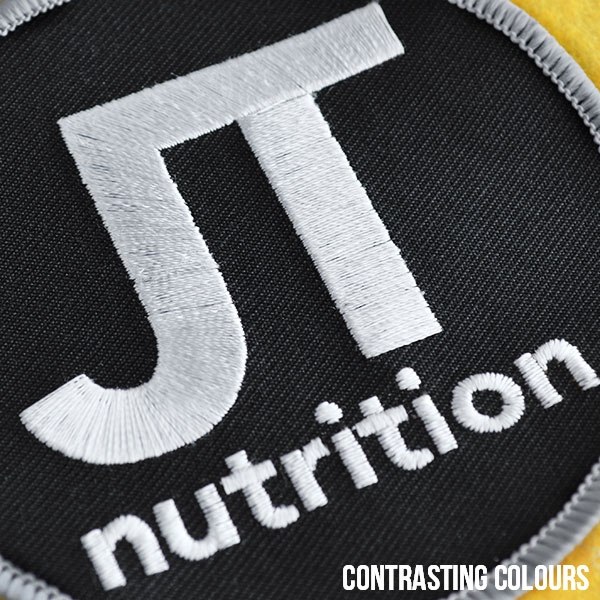
2. Contrast is key: Select contrasting colours to make your patch really stand out. Black & white is a classic contrasting colour scheme that works well for patches and is without question our most popular colour combo. Why not try red & blue, black & yellow, neon pink & neon green? There are so many options, you can be really creative! Here are the links to our thread chart and twill chart to help you make a decision. Also please see our blog post to Learn About Thread & Twill.
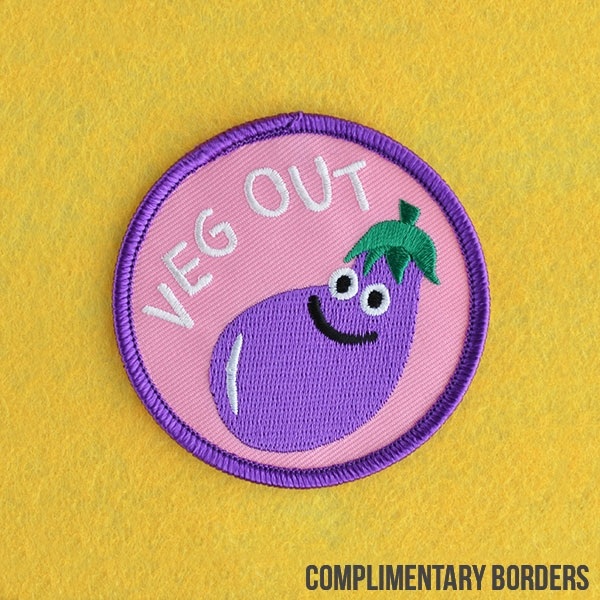
3. Complimentary border colour: A border on a patch frames your design and adds definition, but it also finishes off the patch to avoid loose threads. Why not try adding a border which uses a colour from the central design to complement the whole patch. Please take a look at our Instagram for the latest examples of our work to help spark some ideas :)
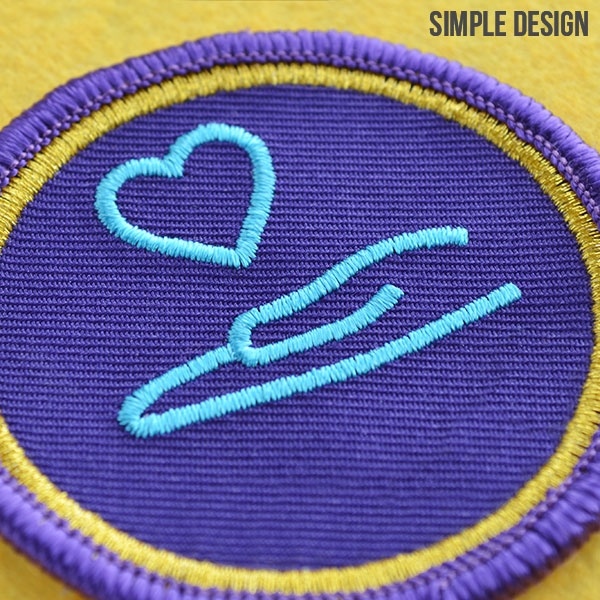
4. Keep it simple: Embroidering an average size patch (60mm) is like drawing on a dinner plate with a very thick felt tip pen. So when designing an embroidered patch, simplicity is key. But don't panic! If your design has a lot of detail, we have an alternative - Woven Patches!
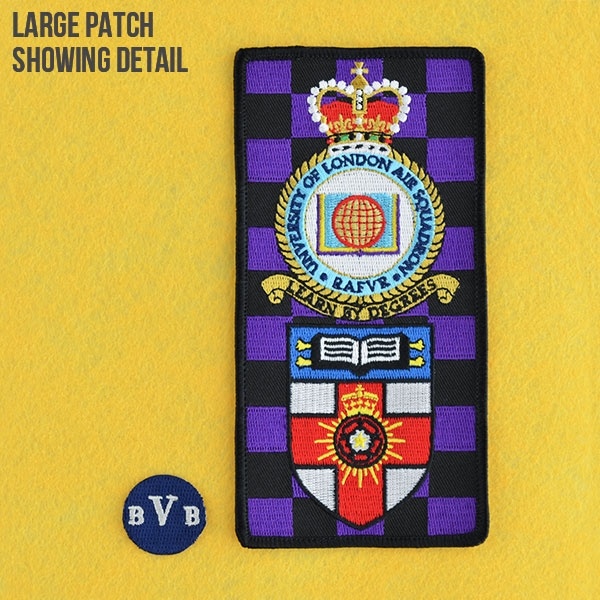
5. The bigger the better: The larger the patch, the easier it is to translate a detailed design. Think of our previous analogy of a 'very thick felt tip pen'. If you increase the size of what you are drawing on, let's say instead of a dinner plate it's now a dinner table, the pen now has more space to achieve detail and therefore isn't so thick anymore. This is the same rule when you create larger patches.
We hope these tips help you create a fantastic patch. Our team are always happy to answer your questions and guide you through the process of creating your custom patch, so please feel free to contact us :)
Is your design ready to go? You can order your custom embroidered patch online here or contact us today - 0117 956 6657 / [email protected].
Check out our Resource Centre for Artwork Guidelines and more!


