5 Tips for Designing Enamel Pin Badges
27 / 07 / 18
These are our top 5 tips for designing Enamel Pin Badges. Check them out!
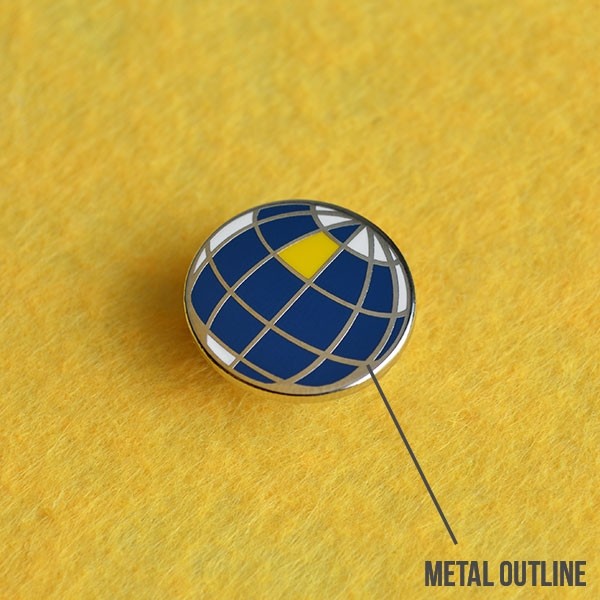
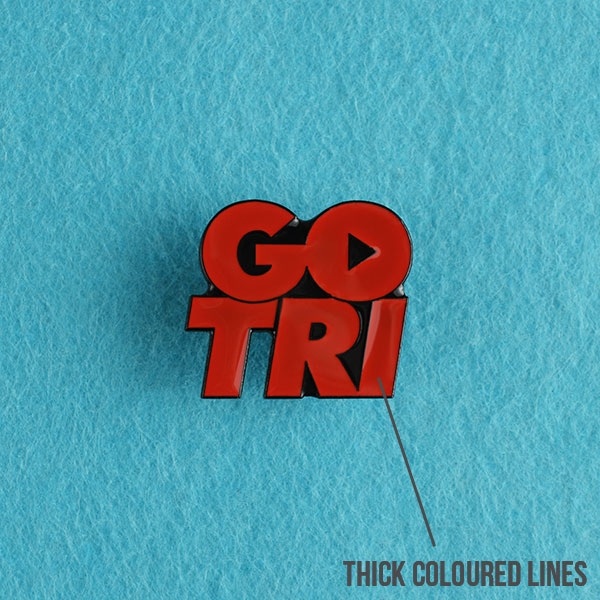
1. Include a metal outline: Include a metal outline around each section of colour. Every colour has a raised metal border to stop the colours from bleeding with each other during production.
- The minimum metal line thickness for Soft Enamel Pin Badges is 0.088mm, which is 0.25pt in Adobe Illustrator.
- The minimum metal line thickness for Cloisonne Pin Badges is 0.176mm, which is 0.5pt in Adobe Illustrator.
2. Allow enough space for colour enamel to be infilled:
Enamel Pins Badges are similar to stained glass windows. Each section of colour is segmented and bordered by a metal outline, but instead of coloured glass, we used coloured enamel liquid.
In the same respect as a stained glass window, the areas of colour cannot be too small or intricate. We are not able to add colour enamel to very small or thin areas, there has to be a minimum to allow the enamel to flow into the segmented and recessed area.
- The minimum enamel infill area for soft enamel badges is 0.423mm, which is 1.2pt in Adobe Illustrator
- The minimum enamel infill area for cloisonne badges 0.35mm, which is 1pt in Adobe Illustrator
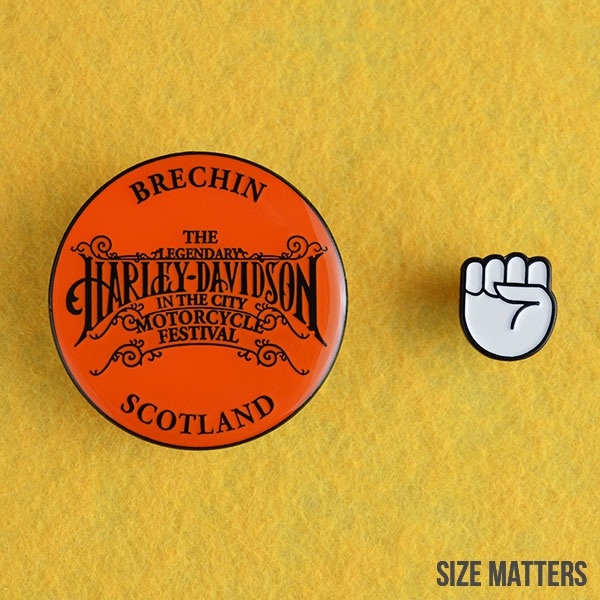
3. Keep size in mind: The complexity of the design needs to correlate with the size of your badge. If you have a complex design, we recommend going for a bigger badge (30mm +) for the best possible result.
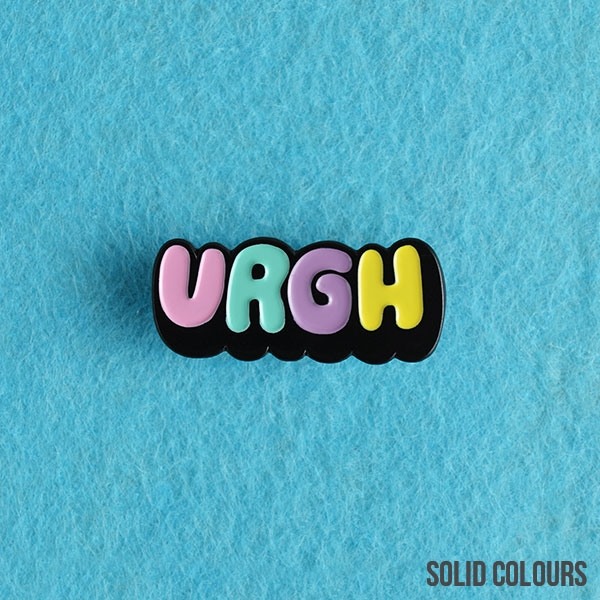
4. Colours matter: Select colours that harmonise with each other and especially take into consideration your metal plating choice. Contrasting colours can often look great together too. It’s important to note that you can only use solid colours for your design. Colour gradients are not achievable. If you really need a badge with colour, please consider our Offset Pin Badge.
Select the colours you would like for your design from the Pantone Solid Colour Chart.
5. Utilise different platings: The plating for enamel badges doesn’t have to be gold or silver. For example, if your design has black lines, go with our dyed black metal plating (see an example below). All our plating options are FREE, so please take a look at the various options we offer and select the plating that works best for your design.
Click here for a picture of the various plating options.
Gold
Nickel
Dyed Black
Satin Nickel
Satin Gold
Antique Gold
Antique Nickel
Antique Copper
Copper
Black Nickel

Our guidelines for enamel badges:
- The minimum metal line thickness for soft enamel badges is 0.088mm, which is 0.25pt in Illustrator
- The minimum metal line thickness for cloisonne badges is 0.176mm, which is 0.5pt in Illustrator
- The minimum enamel infill area for soft enamel badges is 0.423mm, which is 1.2pt in Illustrator
- The minimum enamel infill area for cloisonne badges 0.35mm, which is 1pt in Illustrator
- The smallest recommended size for enamel badges is 10mm
Here’s an example of what the artwork for an enamel badge looks like and the finished result:
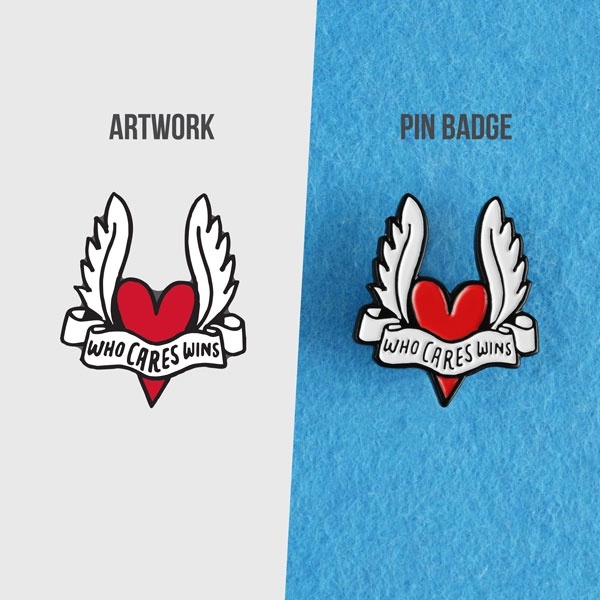
Our enamel pin badges are one of our favourite and top selling products. Feel free to get really creative and then Aspinline will translate your design into a finished badge that you are sure to love. Remember our 5 Star Customer Service team is always here to answer any questions you have.
Is your design all set? Order online here or contact us today - 0117 956 6657 / [email protected]. For more information on the processes for Cloisonne and Soft Enamel Pin Badges take a look at our blog Cloisonne vs Soft Enamel. You can also take a look at our Resource Centre for more Artwork Guidelines!


