How To Apply a Sew-On Patch
24 / 05 / 18
Have you just received your custom patches from Aspinline? Looking for the best way to apply them? Don’t worry, we can help! This is our in-depth guide to sewing on patches.
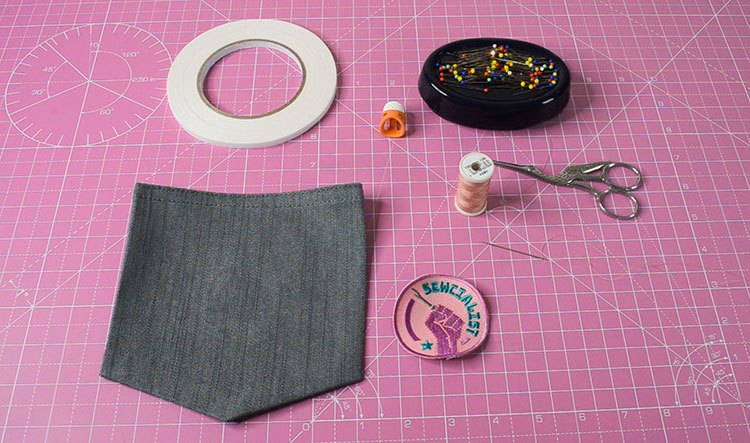
Here’s what you’ll need to apply your sew-on patch:
- Your patch
- Garment
- Pins and/or washable tape (they both work just as well)
- Thread
- Scissors
- Needle (either a machine needle or a hand sewing needle depending on your sewing method)
- Thimble (if you’re applying your patch by hand)
- Sewing machine (if you’re applying your patch by machine)
Here’s the step-by-step guide to applying your sew-on patches:
Step 1 - Choose the position
Make sure you choose a position on your garment that works well for your patch. This is where it will be sewn on, so make sure it’s positioned in a spot that you’re 100% happy with.
Step 2 - Keep your patch in place
It’s best to either use pins or wash away tape to keep your patch in place. This step is key because you do not want your patch to move from its position while you’re sewing it on.
Step 3 - Select your thread
More than likely you will want a thread that matches your patch, but then again a contrasting colour can work great as well! Make sure the colour and type of the thread you select works well with your patch and garment.
Step 4 - Sew on your patch
There are two methods that you can use to sew on your patch: by hand and by machine. We’ve broken down both methods below:
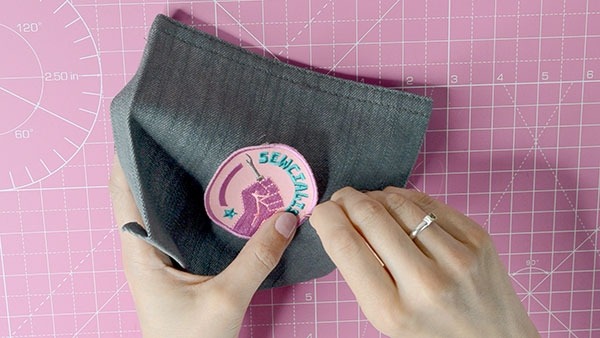
Method 1 - Here's how you sew on your patch by hand:
1. If you’re sewing your patch on by hand, make sure you put your thimble on to avoid hurting yourself.
2. Start by tying a knot at the end of your thread to stop it from pulling through your patch and thread your needle. If you have a thinner thread, you might want to add a few more knots on top of your first knot to make sure it’s large enough not to pull through.
3. When you start sewing, make sure you come through the back of your garment, so that your knot is hidden. You should sew a running stitch, by looping in and out of your patch and fabric, without doubling back.
4. Once you’ve made your way back to where you began stitching, your last stitch should finish with your thread coming out the back of your garment.
5. Flip your garment over and using your needle tie a few knots to make sure it doesn’t come undone. Cut off any excess thread, and voila! You’ve now applied your patch. :)
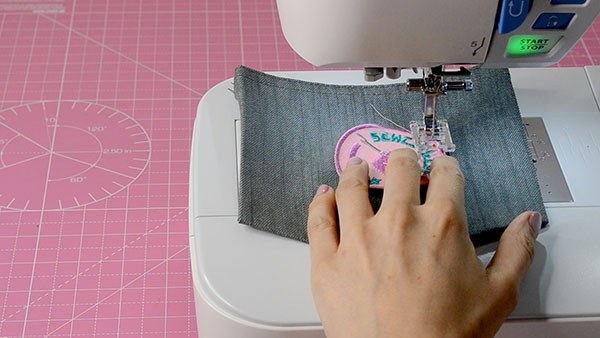
Method 2 - Here's how you sew on your patch using a machine:
1. If you’re sewing your patch on by machine, make sure you’re using a needle that is strong enough for your garment. For example, if your material is thick like denim, you should use a denim machine needle.
2. Start by winding your bobbin. Once the bobbin has been wound, place it into its compartment below the needle and close the cover, making sure to pull the end of the thread to unwind the bobbin a few inches.
3. Place the thread spool onto the spool pin and thread your machine by following its thread guide.
4. Bring the thread back down the tension track and thread it through your needle.
5. Pull both pieces of thread (from the bobbin and the thread spool) to the left hand side of your machine.
6. Now expose the bobbin thread by turning your round dial/wheel.
7. Be sure to clip on your straight stitch foot before you begin sewing.
8. Place the garment into place.
9. Put the presser foot down, and start sewing using a straight stitch, and be sure to sew as close as possible to the border of your patch.
10. Whenever you want to pivot, or make an adjustment, make sure that your needle is completely set down into the fabric. Then you can lift up the presser foot and rotate your garment. To continue sewing, put the presser foot back down and resume.
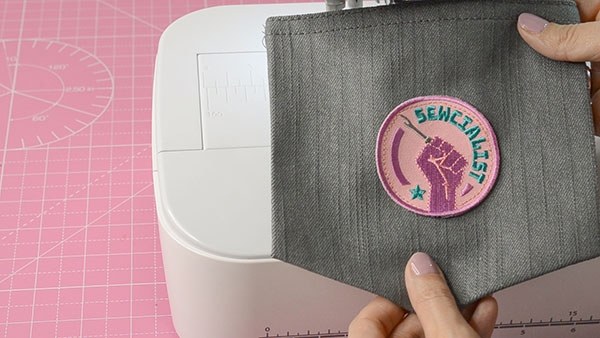
11. When you’ve made your way around the entire patch, finish with a back stitch. Cut off the thread, and enjoy your sewn-on patch!
Still have questions or want to take a deeper look at this process? Check out our How To video coming soon!
Want to make a custom patch order? You can order online here or contact us today - 0117 956 6657 / [email protected].

