How We Made Our Own Custom Hoodies!
26 / 02 / 19
Recently at Aspinline, we designed and created our own one-of-a-kind hoodies for our whole team!
We created hoodies to encourage a sense of community, togetherness and identity here at Aspinline. We also wanted to become better ambassadors of our products.
Here's a run-down of how we made our own custom Aspinline hoodies:

WHAT WE USED

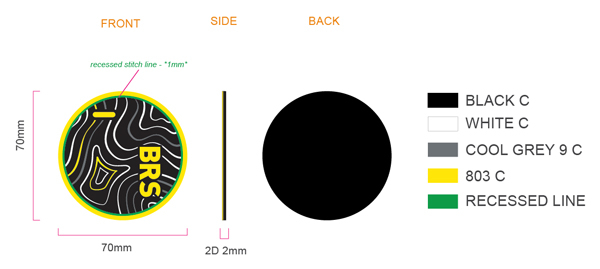
- 2D PVC Patch Sew-On - 70mm
- Embroidered Patch Sew-On - 70mm x 46.9mm (Heat Cut Satin Border)
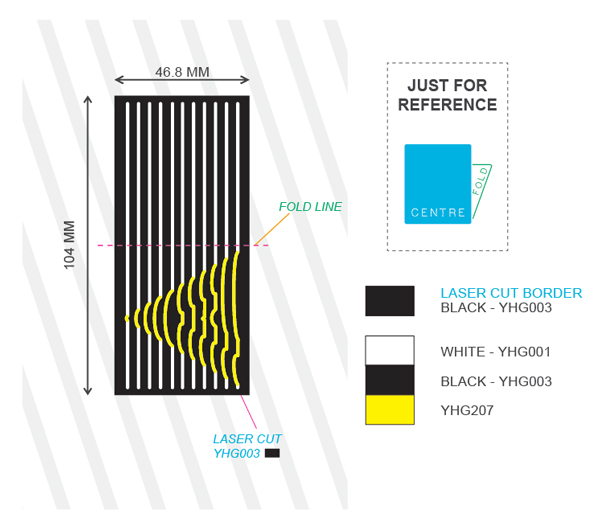
- Woven Label 46.8mm x 104mm (Centre Fold, Laser Cut Border)
- Woven Patch
Sew-On - 200mm
- PET Heat Transfer Print
50mm x 283.9mm (CMYK, Iron-On)
Contact us directly for more info on this product
- A hoodie from H&M (Hooded Top Loose Fit)


THE DESIGN PROCESS

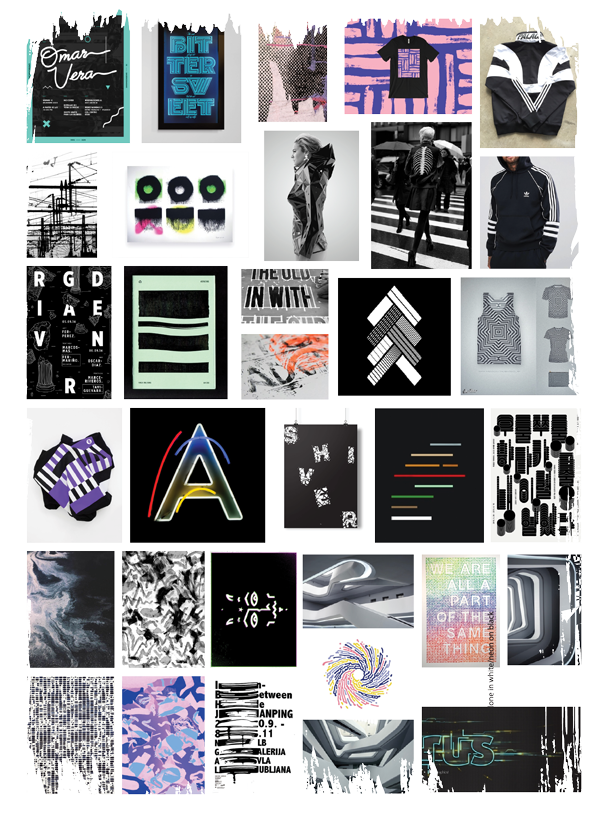
We started the process by creating a mood board which included designs, styles and illustrations that encapsulated the theme that we wanted for our hoodies. Our artwork team then created designs for each of the items.
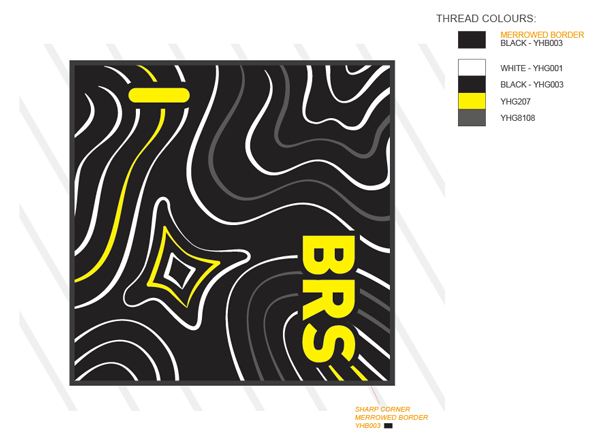
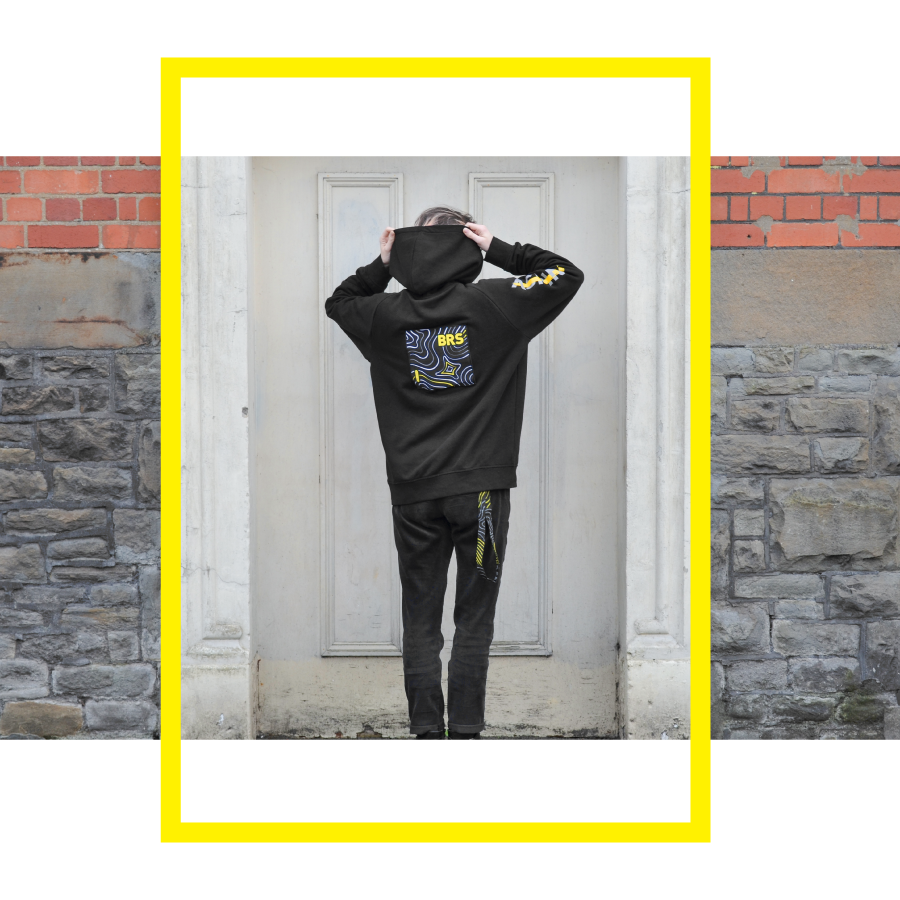
The design was based around a modern & abstract geographic theme. We included map contour lines on the Woven and PVC Patches. We also included 'BRS' on the patches as a nod to our home of Bristol. We followed the same theme with the Woven Label by creating an 'A' shape using contour lines.
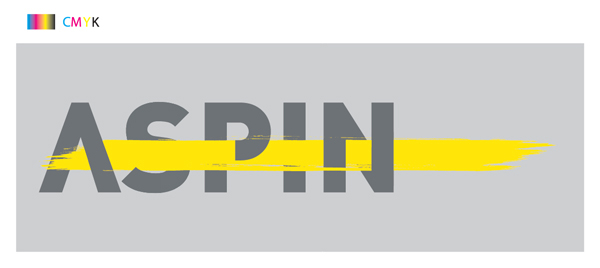
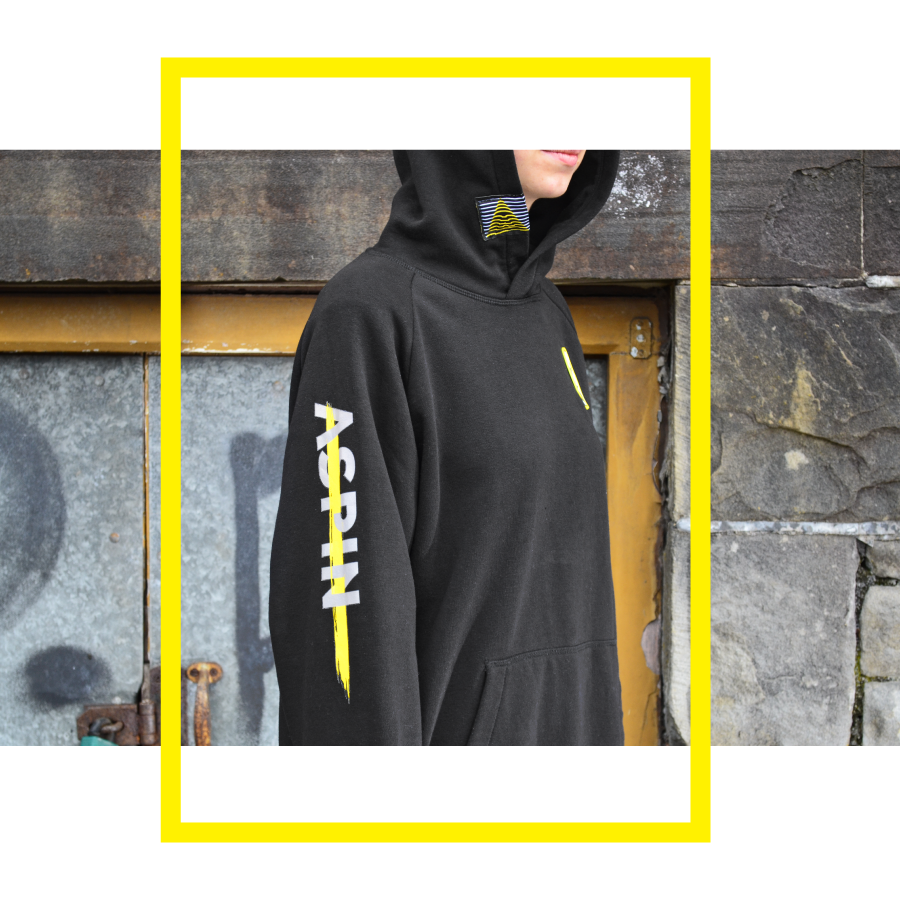
For the PET Heat Transfer Prints, we played on our company name. We took the word 'ASPIN' and added a paint stroke through it to represent the 'LINE'.
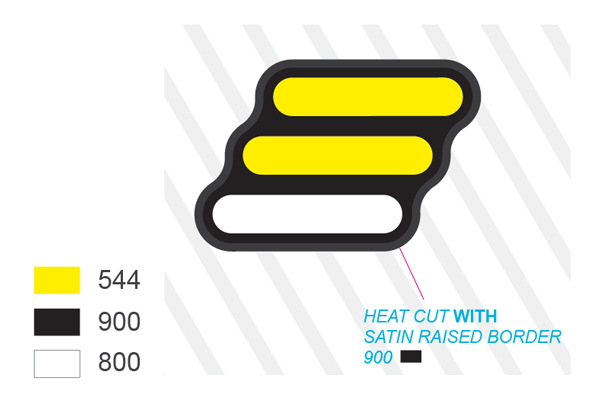
We kept the same colour theme throughout, opting to go with black, yellow, white and grey so the designs stand out on the plain black hoodies.
We created a composite image of the designs using a picture of a model wearing a black hoodie to see how it would look. See below.
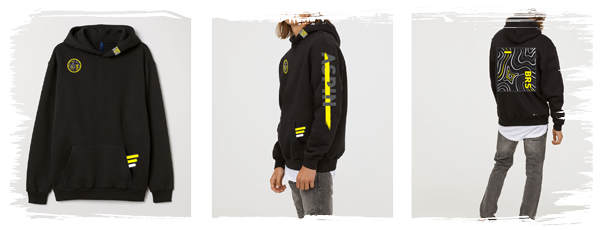
After we finished the final designs, we submitted our artwork to production (just like we do with your custom designs), in vector format so they can be produced!

THE APPLICATION PROCESS

We used a sewing machine to apply the:
- PVC Patches
- Woven Patches
- Woven Labels
You can find out more about applying patches by checking out our handy How-To videos here!
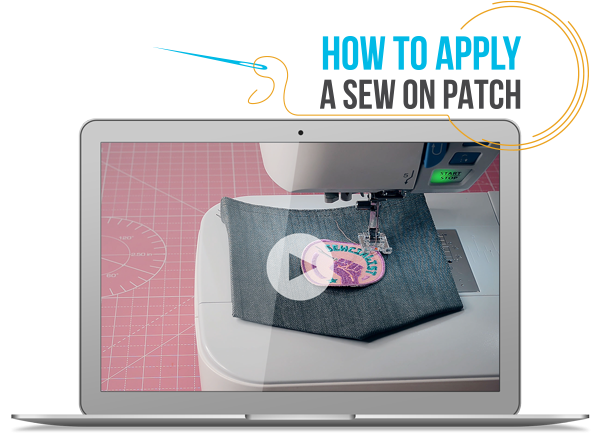
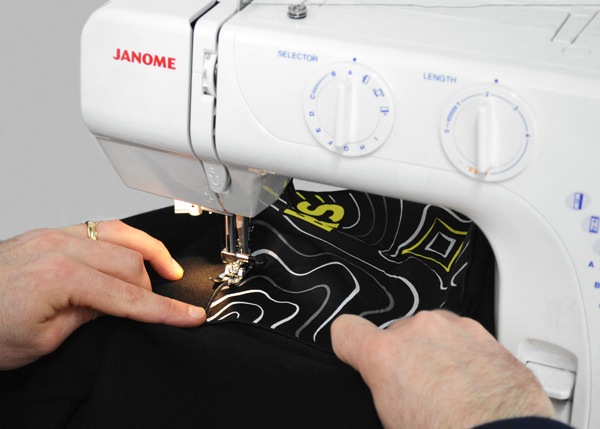
Some tips on using the sewing machine for application:
- Use a thread colour that matches your design. We thought about using yellow which would have looked really good, but in the end, we went with black, just in case we made any errors ;)
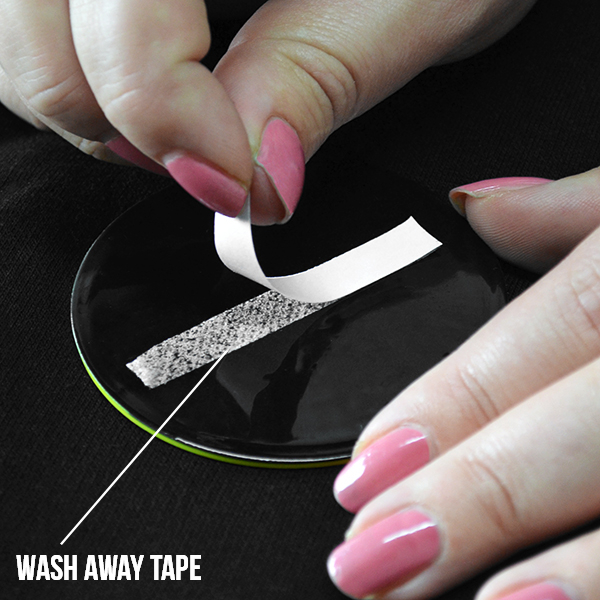
- We used wash away tape to hold the PVC Patch in place as pinning a PVC Patch was a little more difficult and we also didn't want to create holes in the patch from using pins.
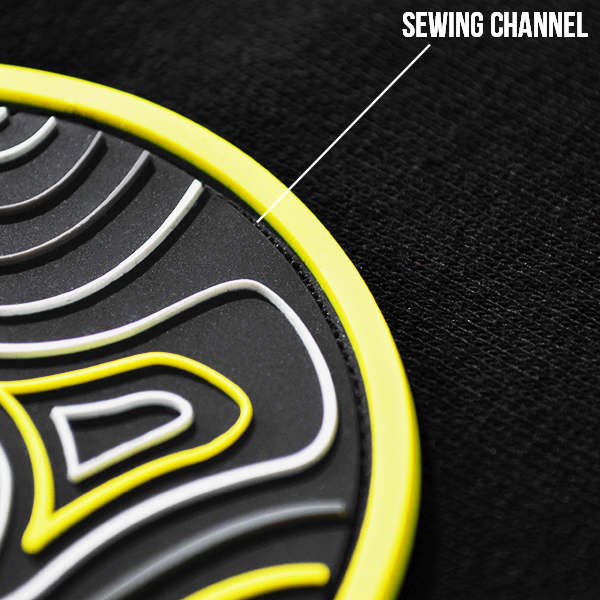
- When applying PVC Patches, there is a sewing channel that we include as standard. At first glance, it can seem it a little daunting to follow this channel on the sewing machine. But as long as you take it slow and steady, lift the machine presser foot and reset after each rotation or turn, then you will have no problems at all.
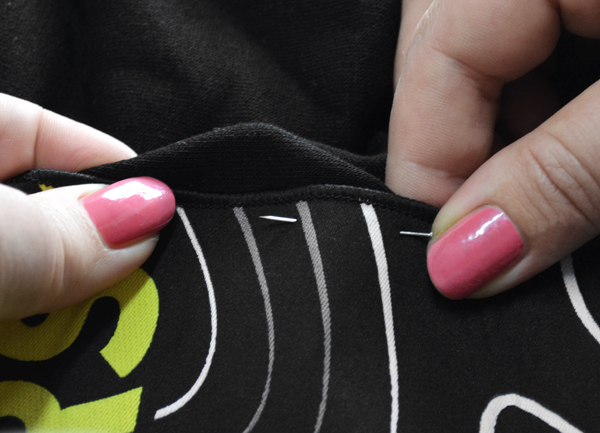
- Pin and sew one product at a time. If you pin everything on at the beginning and then start sewing your first patch or label, as you rotate the clothing and slide it under the presser foot, the other products can easily come out of place and the pins catch on other parts of the clothing.
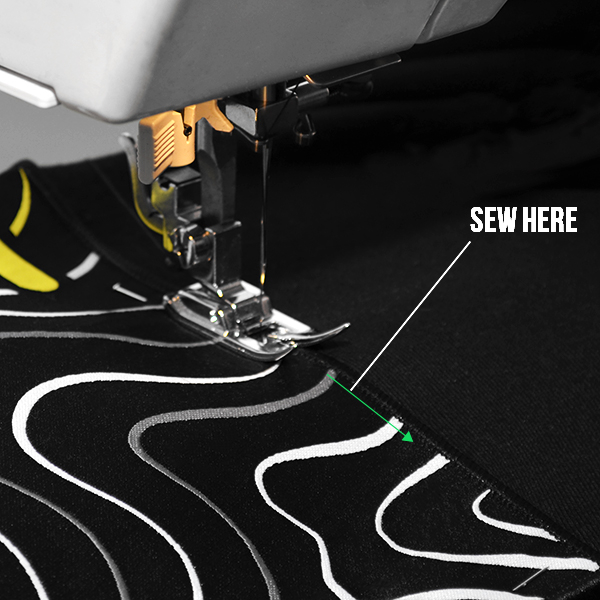
- For patches with Merrowed or Heat-Cut Satin Borders, sew just inside the border.
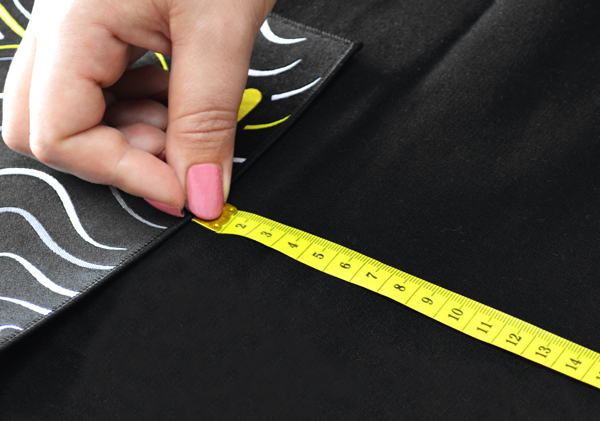
- Measure, layout, measure, layout, measure again and pin! Make sure you have positioned the patches correctly. Sewing the patches in the wrong position and then having to unpick all the thread is a nightmare!
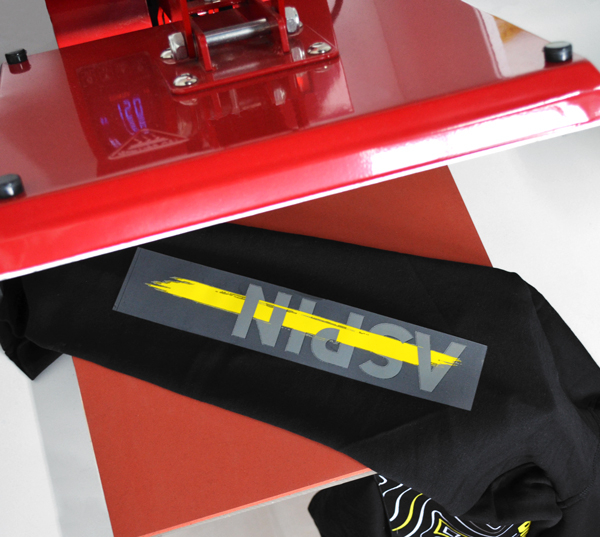
We applied the Heat Transfer on the sleeve of the hoodie by using a heat press, here are the instructions:
For a Colour Heat Transfer:
- Set the temperature to 150 degrees Celsius
- Apply 5KG weight pressure for 8 seconds
- Tear off the plastic material immediately

HOODIE AFTERCARE

We want our hoodies to last, so here are our suggested aftercare instructions:
 |
Wash inside out at 30 degrees |
 |
Don't iron over heat transfer prints or patches |
 |
Don't tumble dry |
If you want to create your own custom products just like Aspinline, you can order online here or contact us today - 0117 956 6657 / [email protected].

